# Resource node (Crystal Node)
## Step 1 (Asset)
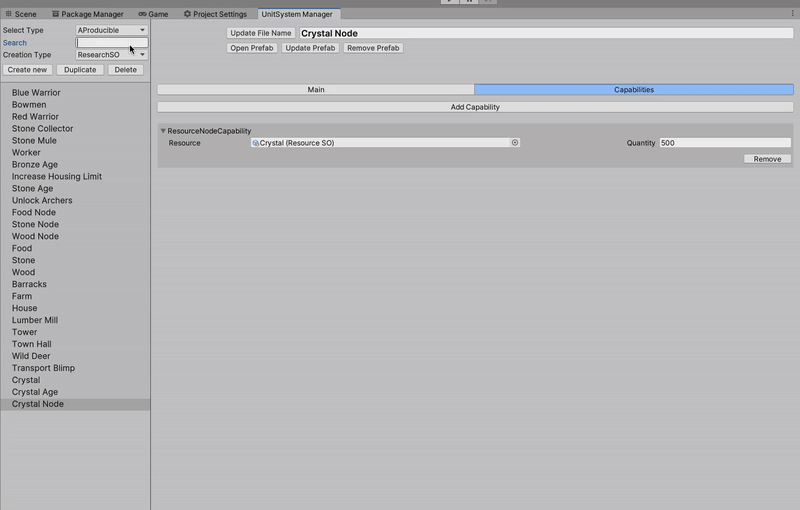
To create **new resource node** we must first create an `EntitySO` data set with **capabilities**, before we create a prefab.
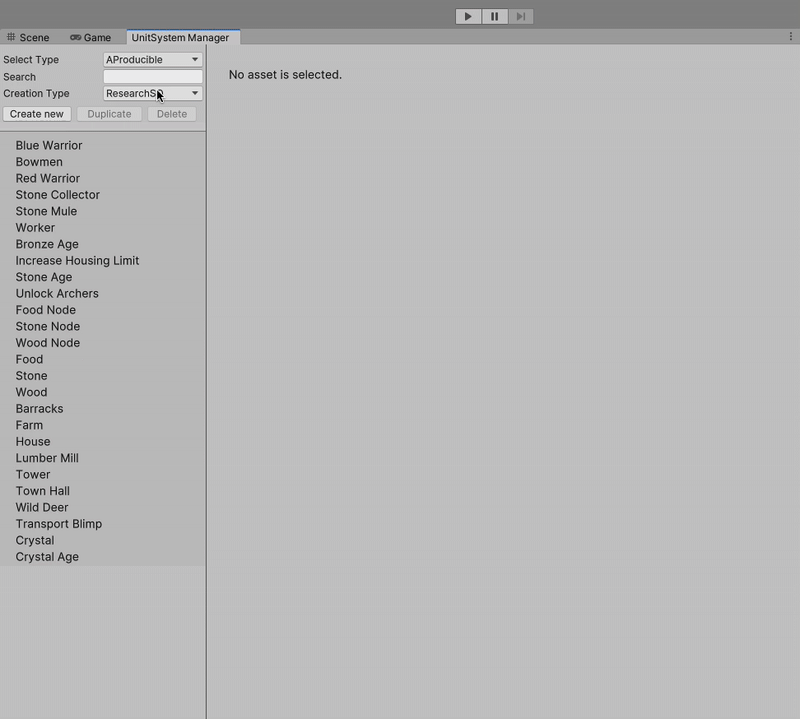
1. Select **Resource Node** type
2. Click **Create New** button
3. Set desired **name** and **description** of the resource node
4. **Cost** can be ignored here;
5. Select **Capabilities** tab
1. With capabilities you add configuration for behaviours added to the entity/unit or modules managing them
6. Set node's **resource** and it's **quantity**
Create resource node steps 1/2
## Step 2 (Prefab)
After data asset is created, we can proceed with creating a prefab:
1. Click on the **Create Prefab** button if you wish for prefab to be created automatically. If you use existing prefab, drag it in the **associated prefab** field and click **Update Prefab** instead. This step attaches (does not remove) any components required by defined capabilities themselves. Any other additional scripts we can add on the prefab directly.
2. Now click **Open Prefab** to and open **Scene** window to see it.
3. **Configure visuals** as desired, by default a primitive cube model is present.
4. **Add collider** to the **root game object**, primarily for selection and other potential raycasts your systems may be performing (such as navigation avoidance).
5. **Set Layer** of the root object (the one with collider) which is used for selection.
**Optional**
1. **Add Obstacle** for your navigation system, so units avoid the object.
2. **Add Static Interaction Position Provider**, a component which generates pre-defined positions for interacting with an object. This is useful only if you have no collision avoidance in your navigation and purely rely on direct destinations to interact.
Create resource node steps 2/2
## Step 3 (Collector)
Either you have your own collector set up or you are using the provided worker included in the demo, make sure that the **resource collector capability** supports this resource. If supported resources array is **empty**, then all resources are supported; otherwise only listed ones can be collected.